Tried this a while ago based on something I found on the web and had no problems at all. Went for it again this afternoon to see if it wasn't just beginners luck and the whole process took about 5 minutes. At the ready are a stiff brush of about a quarter of an inch, glass that fits into your sink, waterproof tape, bleach and a hairdryer.
Firstly tape up the negative side and if you still have the print side I would leave it in situ.
Required is a tape that will not leak, cheap 99 pence duct/gaffer tape I would not recommend. Go for the more expensive strong stuff. Electrical tape may also suffice but do a test first as the problem I guess most people are having is the leakage.
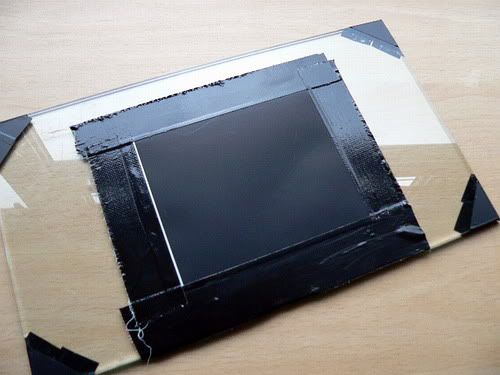
Use strong pressure to get a tight seal, place in the sink and cover with only enough thick bleach to cover the surface area.
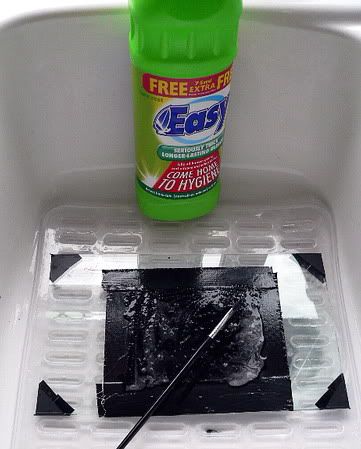
Brush lightly and evenly [important] for about a minute or more (the brush seems to agitate the black backing which helps) and just rinse with warm water.
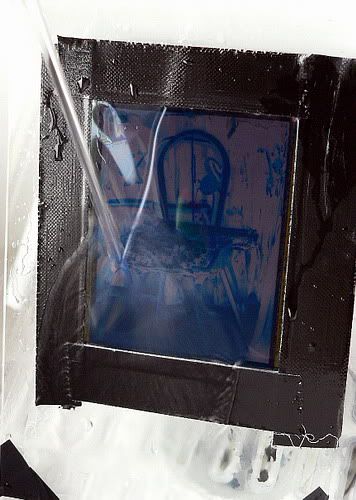
Drain and use a hairdryer set on warm to clear the excess water of the print and glass. Peel away and shazam....
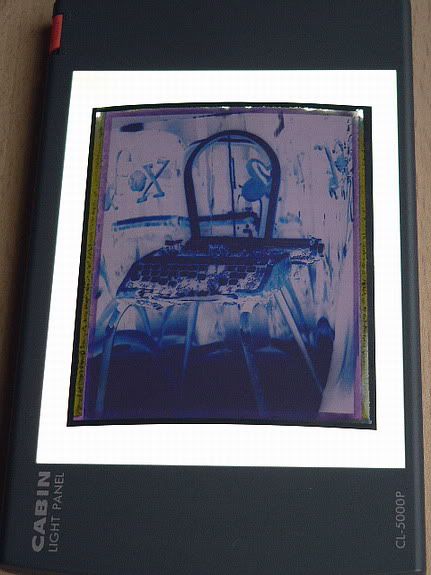
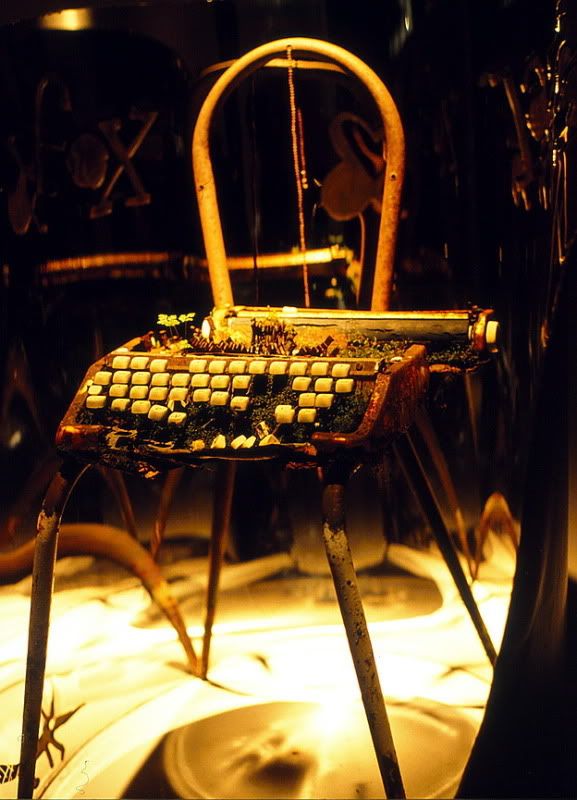
The image was from a slide printer on to FP100c (Silk) so this is just a second generation negative. An image straight from a camera would be sharper...
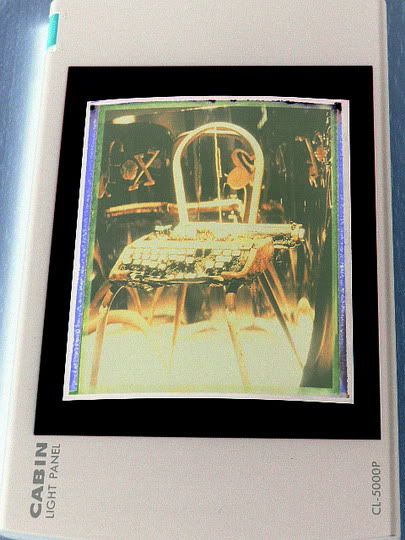
I do not have the required scanner to take this any further but by taking a picture of the negative when on a light panel with my digital camera and using the [negative] option on my limited software I know it works.
Now for a decent scanner and remember the 7 P's [Proper Prior Planning Prevents Pi55 Poor Performance]
Original slide
