Part One - Getting Everything Ready.Obtained one cheap, minty, made in Japan, roll-film Polaroid Pathfinder 120, in box with accessories. While not a single RF/VF, its shutter is B to 1/500 capable (the usually preferred-for-conversion 110B is only 1/300 I think), and
f4.7 to
f90. Not as fast as the smaller 195 it will sit along side, but as this is more about the how than the results, that does not really matter.
Roll-film folders - including the Pathfinder - are quite large cameras, and moderately heavy too. Though, its form factor is very pleasant and easy to use. The side-mounted leather strap particularly so. Size wise it is bigger still over a Fuji FP-1 and a Konica Instant Press, having a similar feel to operation of both these pack-film camera too. It is though a good deal larger than a 195 or other of the folding Polaroid pack-film camera from the same era.
Apart from the great information at the
Land List site, a lot of other information available on the web is either wrong, or driven by egocentric sales opportunities, so this is designed to show all how it is done, and how easy it is!
Update: Hey! Just seen another great site that also describes another conversion in easy to understand terms. Check out Sean's great listing here:
polaroid-110a-covertomation.
Big, bigger, biggest:
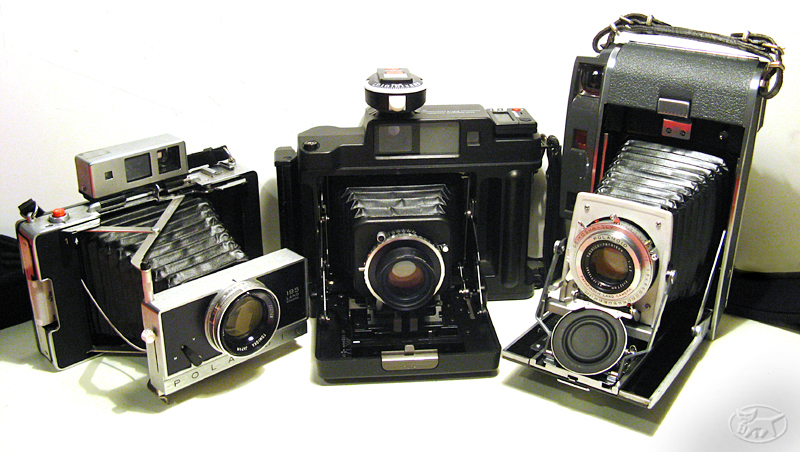
Hacking it up should result in a significant drop in weight, the metal clamshell backs, and the solid stainless steel rollers themselves weighing a lot. Hopefully too, not changing its otherwise pleasing ergonomics, or lovely stylish looks too much.
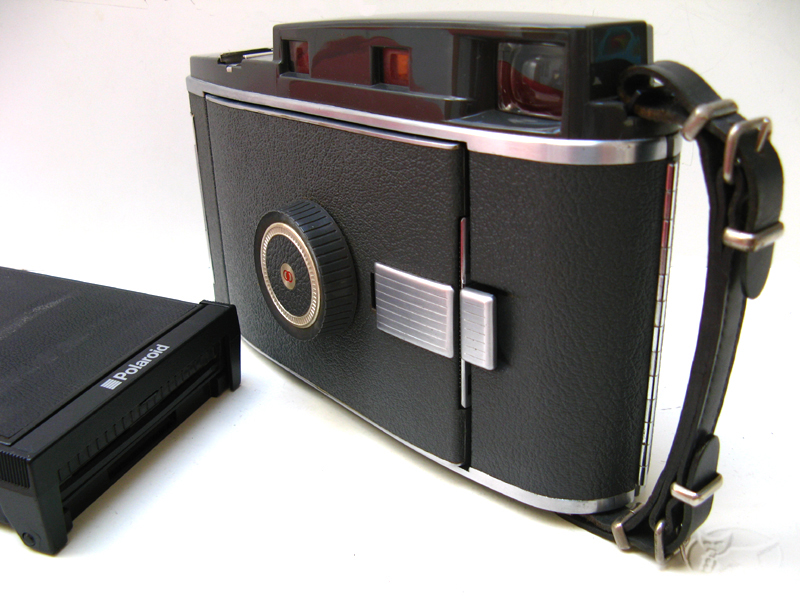
Roll-film fun box, and old 600 SE back scavenged from parts (broken tang).
The lens on this one appears particularly bright, with functions 100%, with really smooth and satisfying clicks and detents.

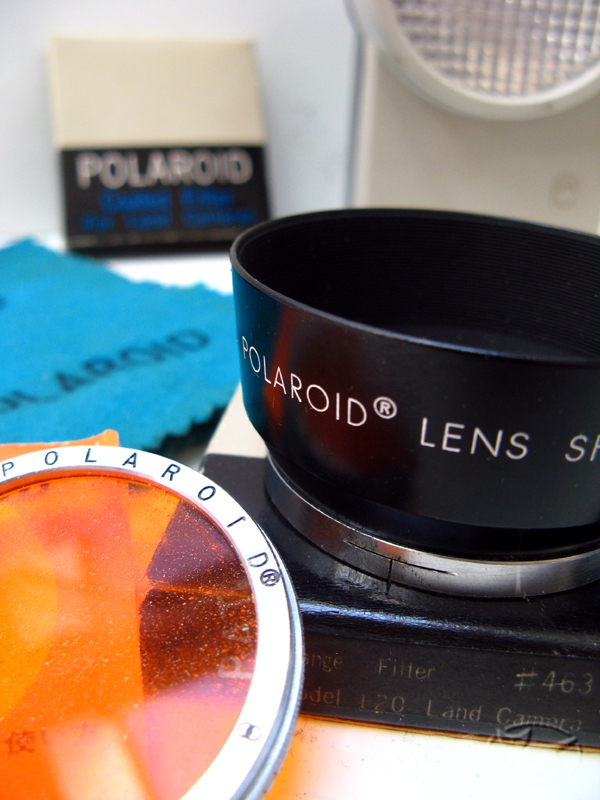
Great set of bits. Love the genuine lens cloth, and while the selenium meter was DoA, the ND and O2 filters will be used mightily with FP-3000 Fuji. The filters were covered in foam dust from their packaging:
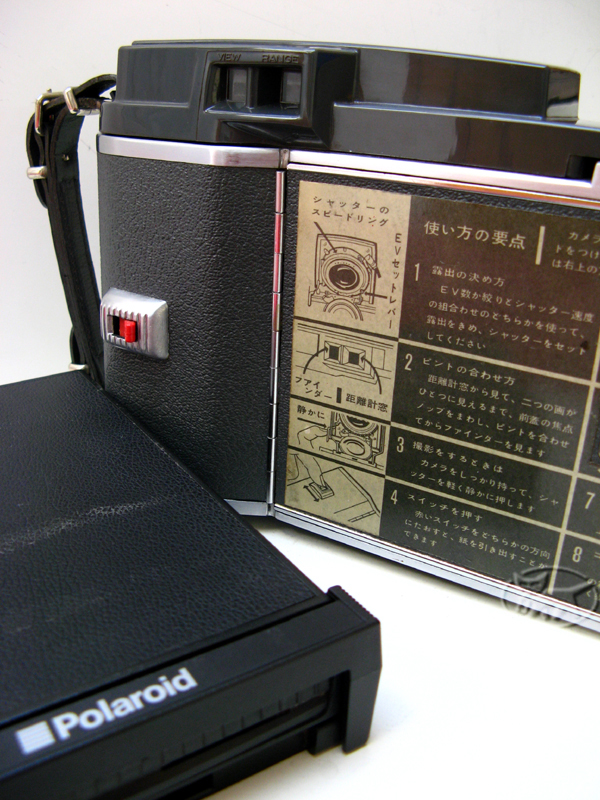
Period instructions on rear:
With both backs open, the concepts were apparent:

First, I removed the lens to protect it from the perhaps traumatic process coming. Avoid the lazy temptation to use pliers, and get yourself a real lens spanner, they are not that expensive and ensure scratches from slipped mis-used tools are kept to a minimum:

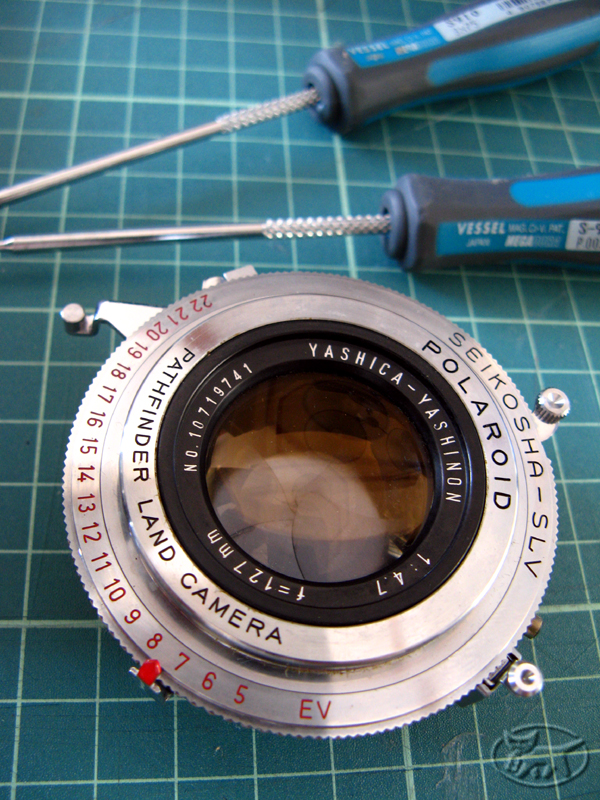
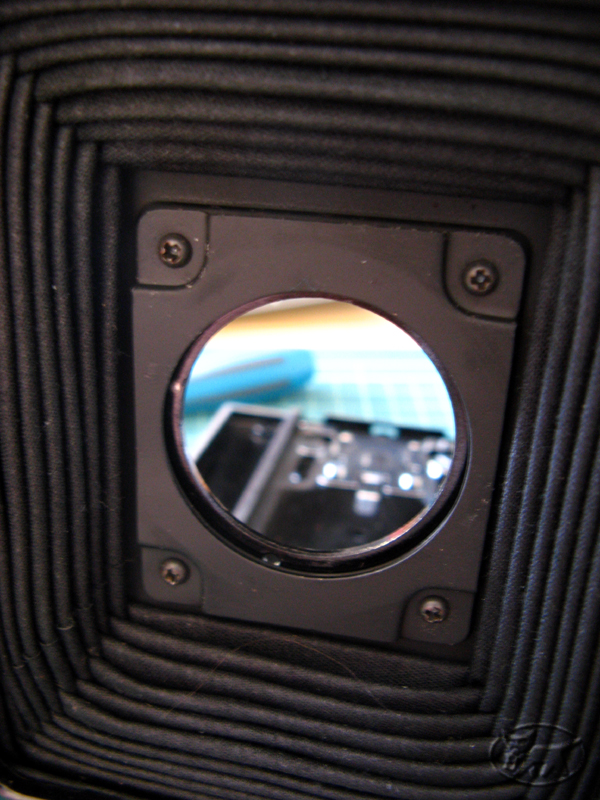
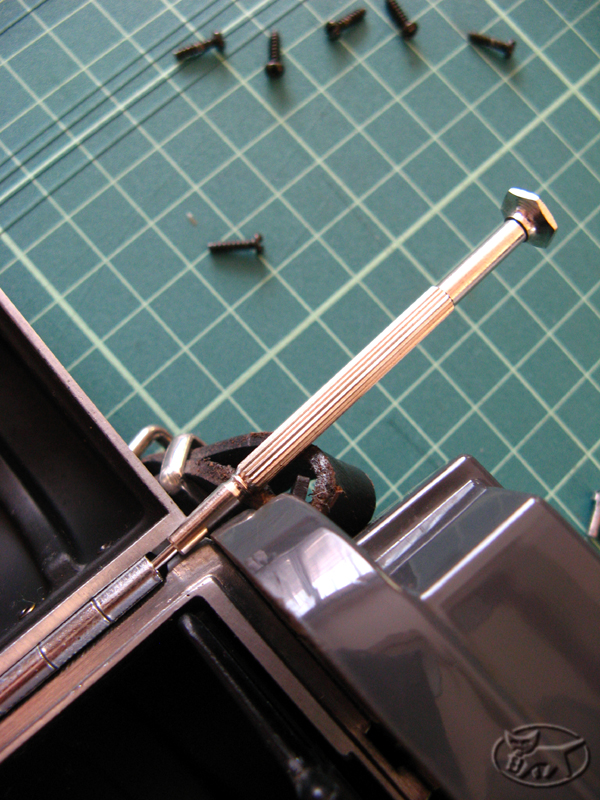
The lens has a small dowel, and the mount plate an appropriate hole so it cannot be misaligned on reinstallation. Next, I removed the wire pins from all back hinges. A light tap on an old screwdriver with a small hammer did the trick:
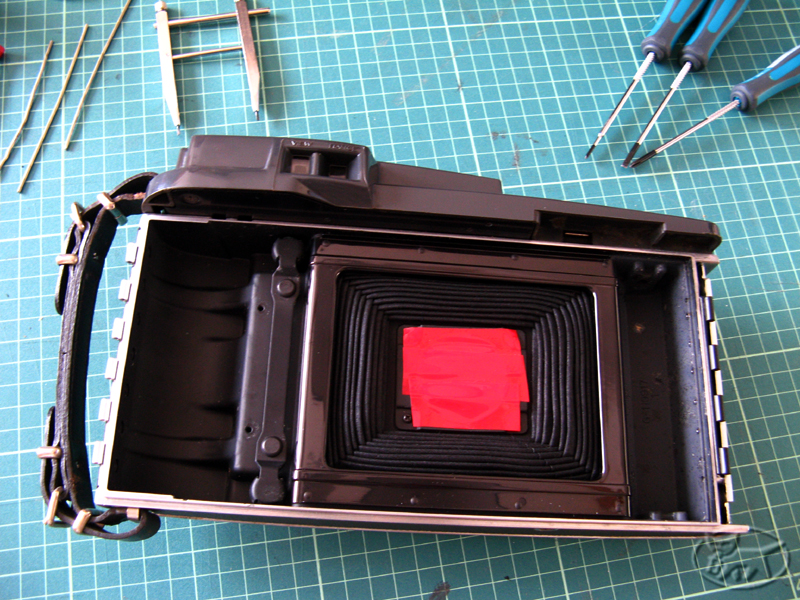
Removed original film spool holder with little screws, and taped lens hole:
Prepared donor back - removed 600 SE back's mount, and saved screws:
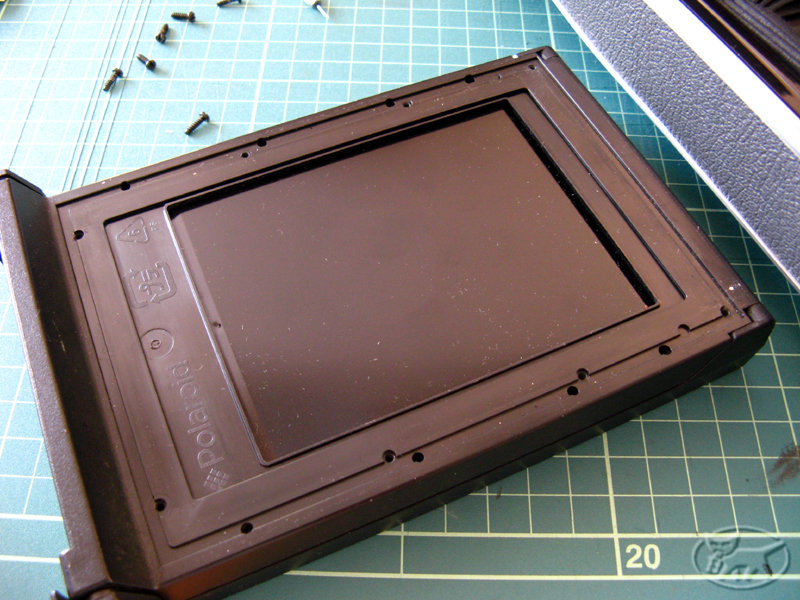
This is started to look feasible:

Film-pack and print matches original film-plane near 100%:
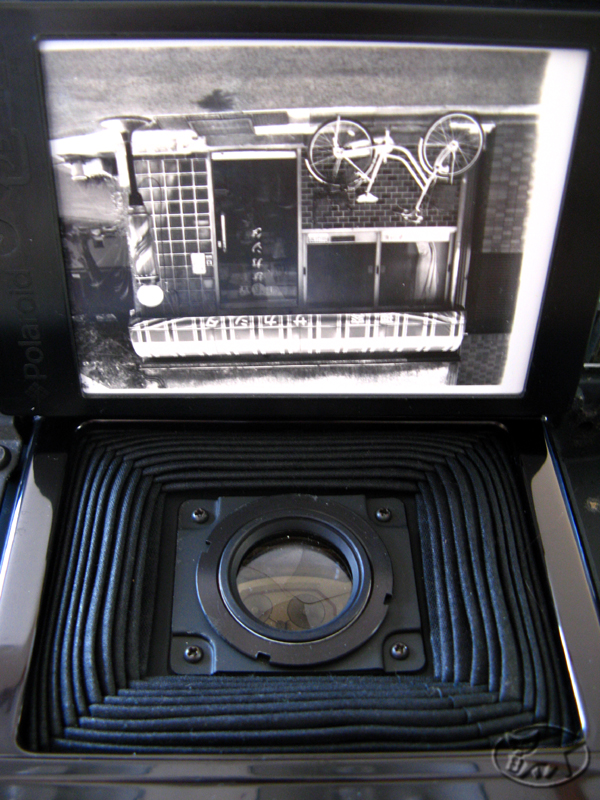
Every thing done so far has been non-destructive, next we cross the point of no return...
(53)